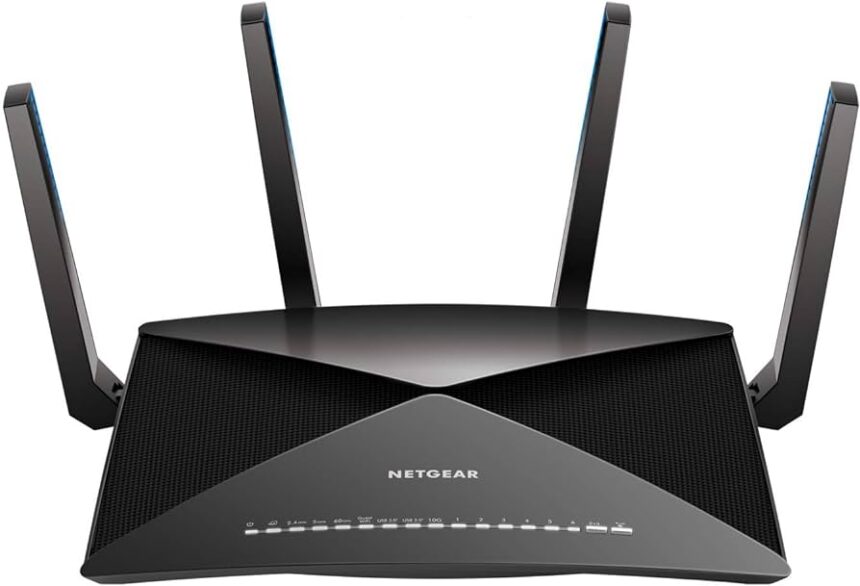
Netgear is a company which provide products like Modems, Extenders, and Routers etc. These products have good range and secured networks. Netgear even launched its app which is “Nighthawk app”. By going to the Netgear Nighthawk router login page, user can activates the router’s features. This app gives you an access to routers and extenders from anywhere. Let’s learn how to setup the Netgear Extenders:
Here’s how to setup Netgear WiFi extenders using Ethernet cable are:
- Place your extender near the router.
- Connect your extender with the router with the help of Ethernet cable.
Connect the one end of Ethernet cable to the router’s LAN port. Insert other end of the cable to the extender.
- Now, turn on the extender by plugging it into the power switch on a wall socket.
- Connect your internet device to the extender default network (if available).
- For next step, open a web browser and type mywifiext.net or IP address 192.168.1.250 and press Enter to search.
- For login, enter the default username and password. The default credentials are username is ‘admin’ and password is ‘password’.
- Once you are logged in, the Netgear extender setup wizard appears on the screen.
- Now, follow the instructions displayed on screen for setup.
- Your device will search for existing available network. Select your network from list, you want to extend.
- You can change the extender network name (from the default name which is Netgear_Ext). Also, you can create a new password.
- Now, connect to the extender WiFi network and check the range and its speed.
If everything works properly without any trouble. Then your setup of Netgear extender using Ethernet cable is now completed.
Here is how to setup Netgear WiFi extenders using WPS are:
- Firstly, plug in the extenders next to routers in wall socket.
- You can move the extender, once setup is done.
- Now, you need to wait for the power LED to stabilize and turns into solid green or blue.
- Connect your extender and router using WPS button. Press the WPS button of your router.
- The WPS LED is blinking, meanwhile press the WPS button of your extender within 2 minutes
- Now, extender WPS LED is blinking, wait for it to stabilize and turn into solid green or blue. Wait for 2 minutes after pressing both the WPS button. If it didn’t turn solid then repeat the step 5.
After the extender LED wait for the Router LED. Once the LED turns into solid green or blue it means both the extender and router is connected. - Once it is connected, you can move your extender to some other place where network is poor and internet strength is weak.
- Plug in the extender in a wall socket at new location. Wait for the LED to turn into solid green or blue. Usually it takes some minutes.
- Connect your device to the extender.
- Open a web browser on your device to login mywifiext
After connecting extender and router, process of configuration is same, as we learned above.
Conclusion
Installing a new Netgear extender by any method can greatly improve the performance of your network and the coverage of your WiFi. You will get guaranteed strong, dependable connection across your house or place of business. By following the simple instructions, which include connecting to the extender, configuring the device via the Nighthawk app or web interface, and placing the device strategically.
